Tehnica Ombre decorative – Când pereții prind viață într-o curgere jucăușă de culori
Ați putea crede că efectul sofisticat al vopselei care curge pe un perete poate fi realizat numai de un expert, un artist sau cu un tapet foarte scump. În realitate, aducerea pereților la viață cu tehnica Ombre decorative nu necesită abilități speciale. Aveți nevoie doar de un pic de creativitate și de perseverență.

Tehnica de vopsire Ombre, caracterizată prin trecerea lină de la o nuanță mai închisă la o nuanță mai deschisă, a fost mult timp populară în afara salonului de coafură. Tendința este prezentă și în designul interior. Se folosește pe perdele, mobilier, gresie și suprafețe mai mari de perete. Vopselele pot fi amestecate pentru a crea efecte diferite, de la o tranziție foarte ușoară și subtilă, la un stil impresionist cu tușe brutale de pensulă și contraste puternice de culoare. Puteți adapta aspectul final la dorințele și spațiul dvs. Acest efect decorativ de curgere va crea fără îndoială un aspect carismatic și unic în camera dvs.


Alegerea paletei de culori
Este foarte populară combinarea unor versiuni palide și mai întunecate de aceeași culoare, precum și culori neutre combinate cu alb. Desigur, atunci când proiectați o paletă de culori posibilitățile sunt practic nelimitate Natura este o sursă excelentă de inspirație. Luați culorile care curg pe cer seara, sau în zonele montane, care sunt ascunse treptat de cețuri și nori.
Combinând vopsele din diferite grupuri de culori, merită să luați în considerare dacă vă place, de asemenea, nuanța care va fi creată în timpul tranziției lor. De exemplu, amestecul de roșu și verde - care sunt la capetele opuse ale paletei de culori - creează un gri maro sau murdar, care poate fi o surpriză nedorită! În acest caz, este mai bine să alegeți o tranziție de la roșu la alb pe o parte și de la alb până la verde pe cealaltă.
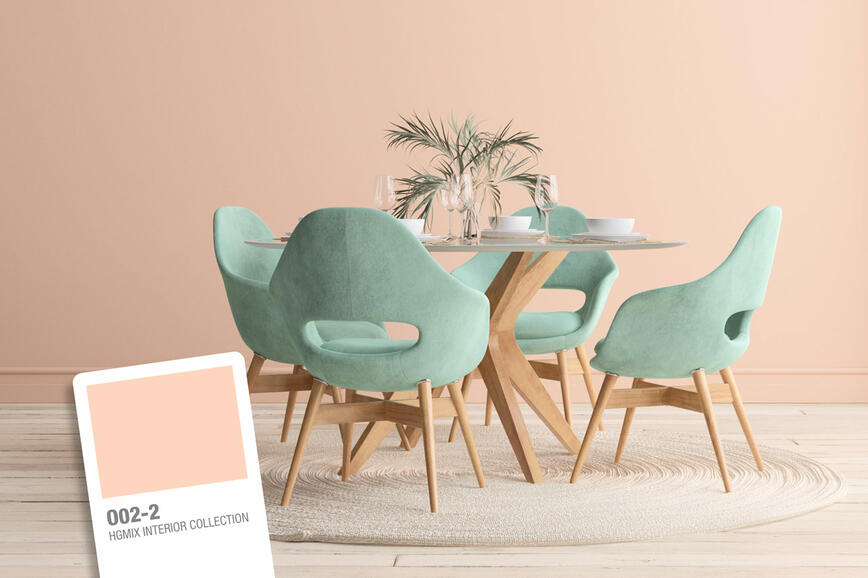
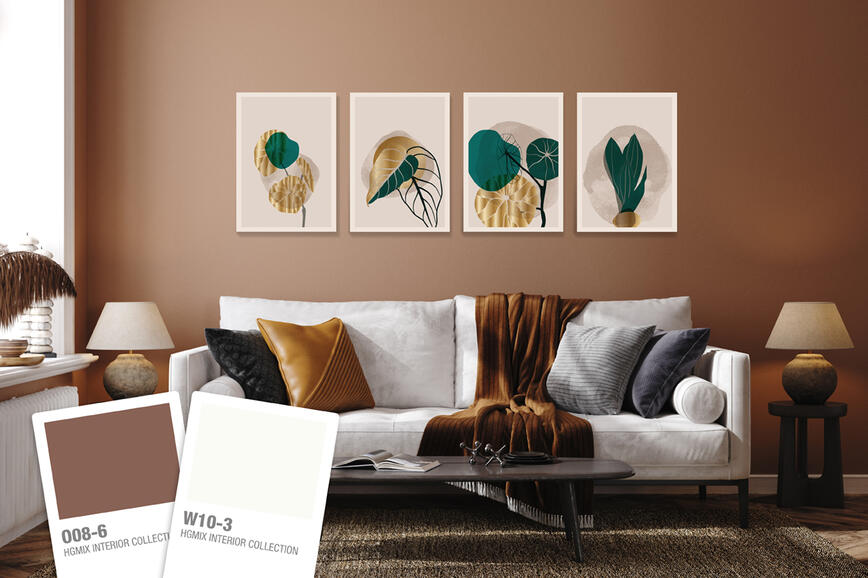
Puteți utiliza harta de culori HGMIX INTERIOR COLOUR COLLECTION când proiectați paleta de culori, ceea ce vă permite să alegeți între 1194 nunațe de culori.


Cum să faceți ombre?
Folosind o rolă, aplicați vopseaua pe perete în mai multe benzi, lăsând un spațiu gol între ele Benzile pot fi de diferite lățimi sau la distanțe diferite între ele, în funcție de aspectul final dorit. Un sfat pentru a face benzile la aceeași înălțime pe întreaga lățime a peretelui este de a folosi bandă de mascare sau de a face semne cu creionul.
Pentru tranziții mai line, mai fluide, vopsiți fâșii mai înguste care sunt mai depărtate. Un alt sfat este să amestecați două culori adiacente în același raport înainte de a le aplica pe perete, pentru a crea o nouă culoare care se potrivește cu spectrul existent. În cazul în care continuați procesul, puteți crea un număr aproape nelimitat de nuanțe noi prin amestecarea culorilor, care vor facilita crearea unui gradient uniform. Veți avea nevoie de multe tăvi pentru toate amestecurile.
Cât timp vopseaua este încă proaspătă, utilizați o perie uscată sau ușor umezită, și cu curse transversale estompați tranzițiile între benzi. Încercați să lucrați cu vopseaua care se află deja pe perete. Aplicați vopsea suplimentară cu o perie pe perete numai atunci când este necesar, în funcție de lățimea spațiului gol lăsat între benzi. De asemenea, puteți utiliza o perie foarte largă, cu care să intrați în fiecare parte din una din cele două culori adiacente și apoi creați o tranziție lină cu mișcări orizontale.


Când vopsiți vara, vopseaua se usucă mai repede datorită temperaturilor mai ridicate, deci va trebui să umeziți ușor peria cu apă de mai multe ori Pentru a evita deteriorarea vopselei deja aplicate, nu pulverizați niciodată apă direct pe perete Dacă lucrați pe o suprafață mai mare, vă recomandăm să păstrați o parte mică de perete, de până la două metri lățime și să avansați treptat pentru a preveni uscarea vopselei prea repede.
O caracteristică excelentă a tehnicii Ombre este că lasă loc pentru erori. Dacă este necesar, puteți întotdeauna să reveniți, să reparați tranzițiile, să creați o adâncime mai mare cu aplicare suplimentară sau chiar să adăugați noi nuanțe. Nu aveți nevoie decât de perseverență și de suficiente pensule curate!
Spații rafinate cu caracter: tehnici decorative SPEKTRA Decor Topaz și Quarz pentru interioare contemporane
Tendințe de culori 2025: Un echilibru sofisticat între tonuri naturale și bogate, intense
Nuanțele verii în casele de vacanță
Renovarea balconului sau a terasei - creați un colț fermecător în aer liber pentru a vă bucura de natură
Cum să mărești vizual un spațiu mic?
Secretul unei case frumos decorate stă în detalii

Roșu trandafiriu vibrant: culoarea îndrăzneață și optimistă a anului
Cum să dați pereților dvs. un aspect de vechi
De ce este albul atât de preferat?
Negrul – regele culorilor

Idei creative pentru decorarea camerei copiilor