Radiator Renovation: From preparation to finish
Renovating your radiators is a great opportunity to extend their lifespan while giving your space a quick refresh. Want to know how to approach radiator renovation correctly, which paint is most suitable, and how to prevent rust from forming? With the practical tips below, you'll complete the renovation quickly, efficiently, and without unnecessary complications.

Preparing the radiator for painting
The first step toward a successful radiator renovation is the thorough removal of old, damaged paint and rust. Use 150-grit sandpaper, a wire brush, or a dedicated paint remover. A properly sanded surface ensures better adhesion of the new paint and results in a high-quality, attractive finish.


After sanding, clean the radiator with warm water and a mild detergent. Be sure to remove all dust, dirt, and grease stains, as any residue may prevent the paint from adhering properly. For stubborn oil stains, use TESSAROL NITRO THINNER. After using the thinner, always rinse the surface thoroughly with water. Ensure good ventilation when using thinner, as the fumes can be harmful.
Once the radiator is clean, allow it to dry completely before painting. To speed up drying, you can briefly turn on the radiator to warm it slightly. Let it dry for at least several hours ‒ if the surface is still damp, the paint may not adhere well and could blister or peel. If possible, remove the radiator from the wall temporarily ‒ this will make the entire painting process significantly easier.


Choosing the right paint
When choosing paint for radiators, the most important factors are resistance to high temperatures and temperature fluctuations, which radiators are exposed to during operation. The paint must withstand these changes without peeling, cracking, or yellowing. Always opt for products specifically designed for radiator use.
In addition to heat resistance, consider the paint’s environmental and health impact. With growing awareness of sustainable products, we recommend choosing paints with a low content of volatile organic compounds (VOCs). These eco-friendly paints are typically water-based and have less impact on indoor air quality.
Another important factor is ease of application and fast drying. Most people want to finish the job as quickly as possible, so choosing a paint that applies easily and dries quickly is essential. Quick drying also reduces the chance of dust or dirt settling on the freshly painted surface.
From our product range, we recommend TESSAROL ACRYLIC PRIMER UNI, which ensures good adhesion of the topcoat and provides extra corrosion protection, and TESSAROL ACRYLIC ENAMEL FOR RADIATORS, which is user-friendly and delivers a smooth, even finish. Since radiators are usually powder-coated, topcoat paint may not adhere well without a primer ‒ making the use of a primer essential.
Step-by-Step Radiator Renovation
First, protect the floor and nearby walls using newspaper or protective foil to prevent paint drips or spills. Use masking tape for the edges and corners. Prepare the appropriate tools ‒ a synthetic fiber brush or a microfiber roller. For hard-to-reach areas, use an extension handle or a brush with a longer handle. Make sure the radiator is cold during both painting and drying; applying paint to a hot surface causes it to dry too quickly, which can lead to cracking or peeling.


Before painting, stir the paint thoroughly to achieve an even consistency. Begin by applying TESSAROL ACRYLIC PRIMER UNI, starting with the back and hard-to-reach areas, then moving to the front of the radiator. Apply the paint using top-to-bottom strokes to reduce drips and ensure an even coat.
If the radiator surface is heavily damaged or uneven, we recommend applying two coats of primer. Allow 6 to 8 hours of drying time between coats, depending on the temperature and humidity of the room. Warmer temperatures and lower humidity will speed up drying, while cooler and more humid conditions will slow it down.
For the topcoat, use TESSAROL ACRYLIC ENAMEL FOR RADIATORS. Lightly sand the surface before applying the topcoat to improve adhesion. As with the primer, start painting less visible and hard-to-reach areas first, then proceed to the front. We recommend applying two coats — apply the second coat 8 to 10 hours after the first, depending on room conditions. TESSAROL ACRYLIC ENAMEL FOR RADIATORS is also suitable for painting heating pipes.
If you prefer solvent-based paints, TESSAROL PRIMER UNI and TESSAROL ENAMEL FOR RADIATORS are excellent choices. These can be thinned with TESSAROL THINNER if needed. In this case, use brushes or rollers with natural bristles, as they are more resistant to solvents.
Cleaning Up
Clean your tools immediately after use, before the paint dries ‒ this makes cleaning easier and more effective. For water-based paints, use warm water and mild detergent. For solvent-based paints, use TESSAROL THINNER. Make sure the area is well-ventilated, and wear protective gloves, as the fumes can be harmful. After cleaning with thinner, rinse the tools with water and soap, and let them dry thoroughly before storing.


A Renovation That Pays Off
By choosing quality paint and following the steps above, you’ll restore a fresh look to your radiators and provide them with long-lasting protection from rust and wear. Radiator renovation is a simple but smart investment that will surely pay off ‒ both visually and functionally ‒in your home.
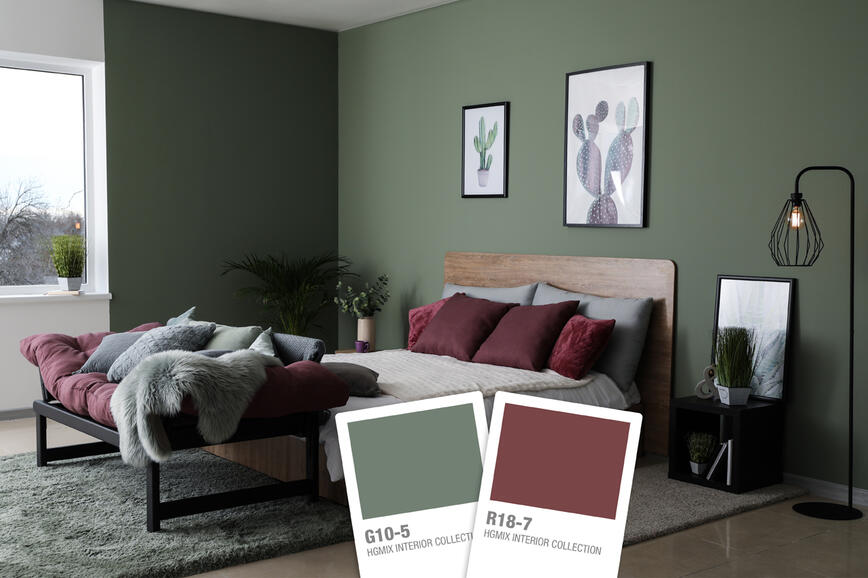
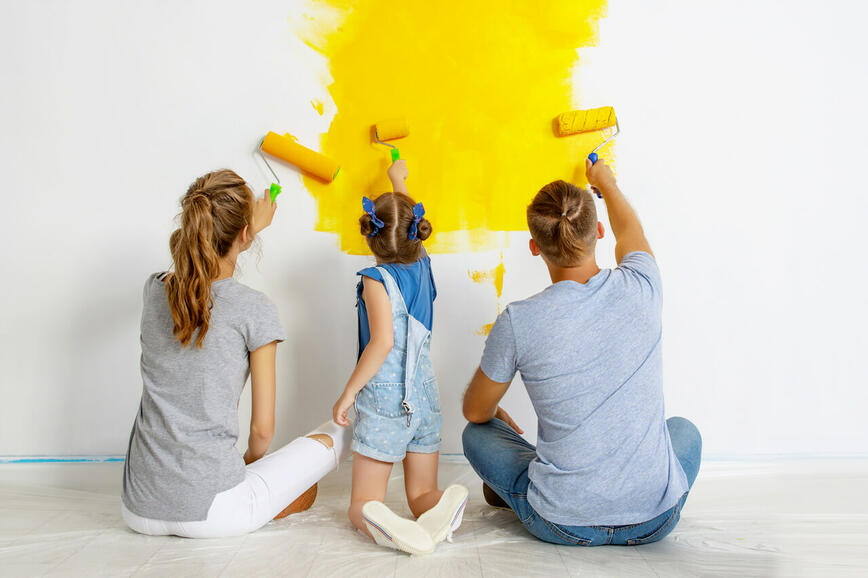
Bold colours or soft elegance: How to paint a space with personality
Why is it wise to test paint before buying it?
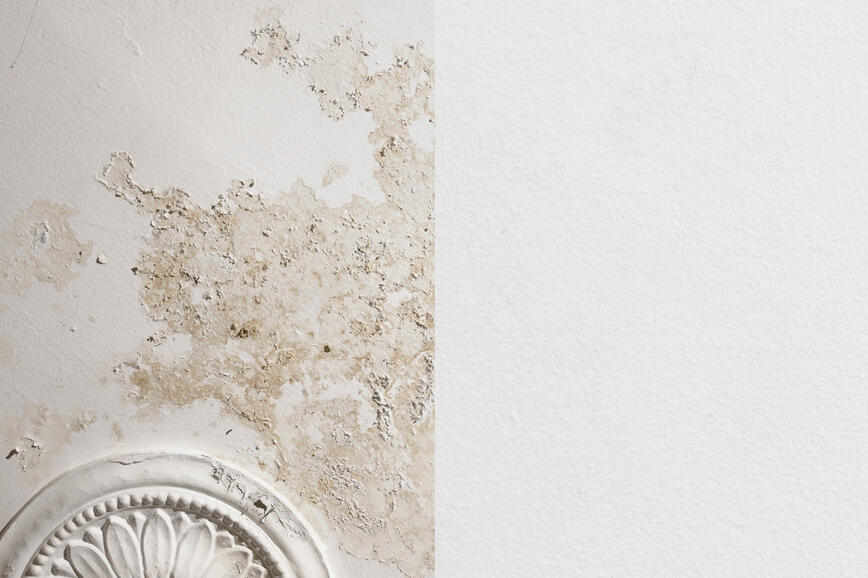
How to effectively block water-soluble stains on wall surfaces
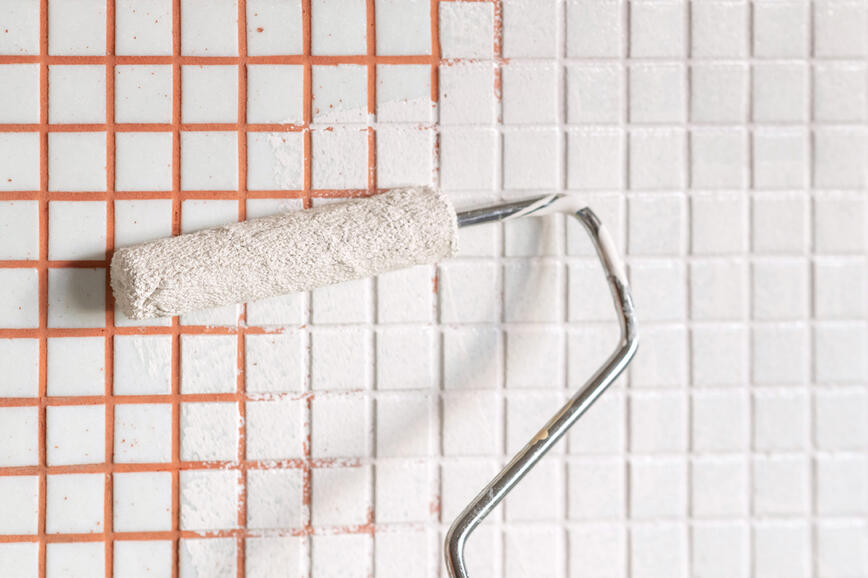
Renovating your bathroom in one step with ceramic tile paint
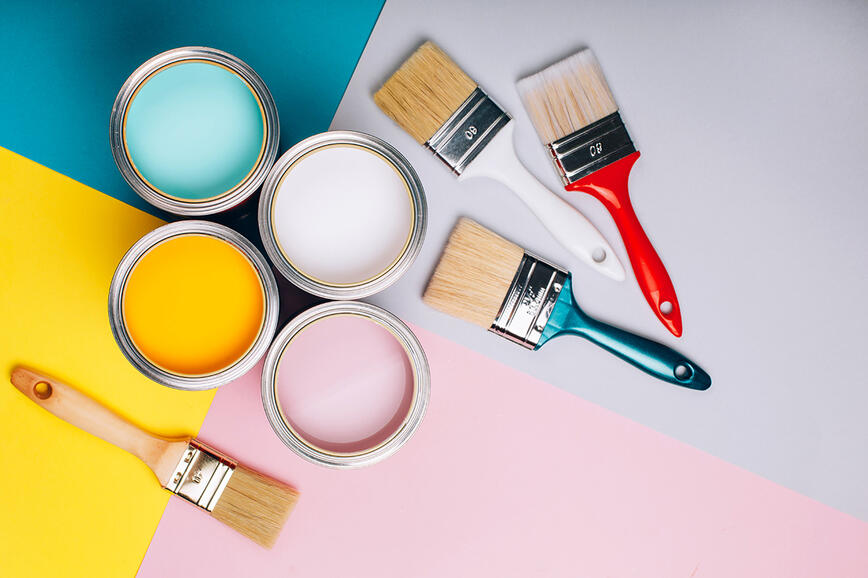
Painting project: From preparation to cleaning

Renovation of a façade due to the growth of mould and algae
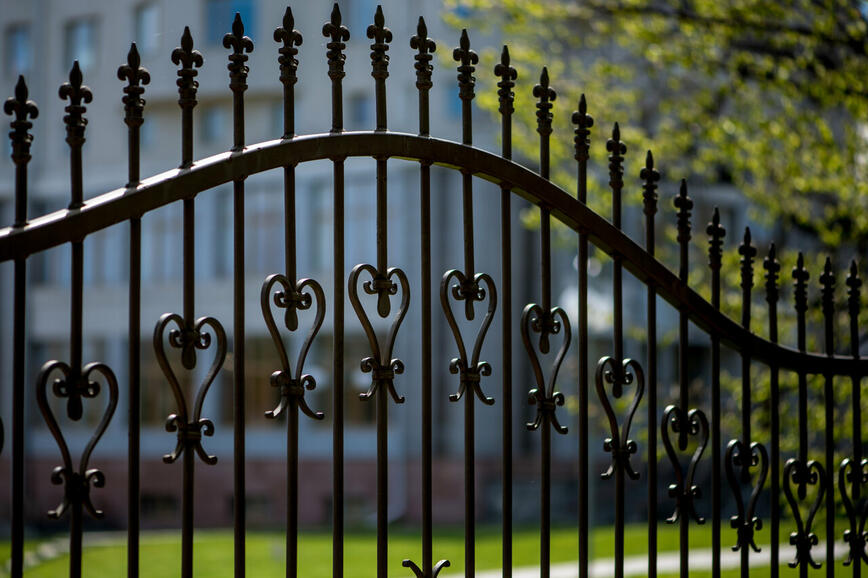
A project for autumn - restoring an outdoor metal fence
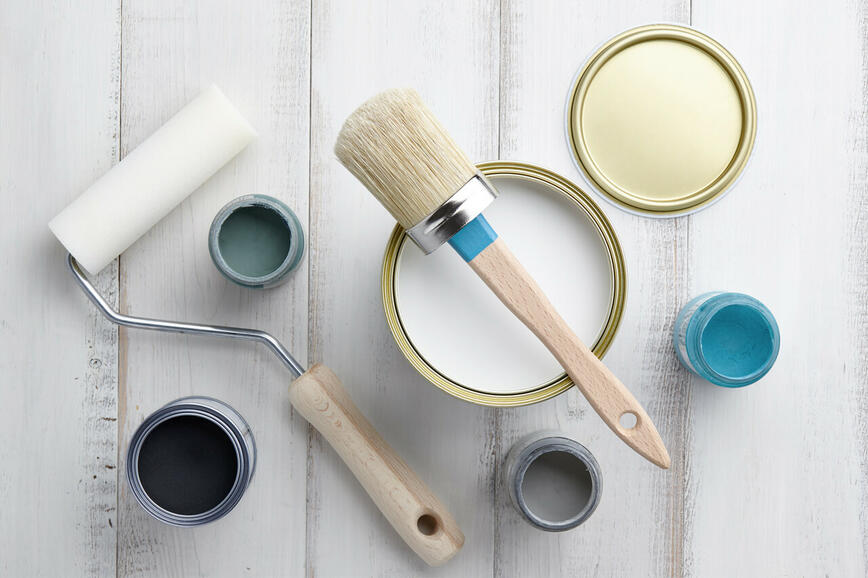
How to properly and safely get rid of paint residue?
Choosing a facade paint that does not fade over time
Facade choice - differences in thermal insulation
Façade energy renovation