Become the Captain of Your Own Adventures with TESSAROL Coatings

This time, tips for restoring wooden structures are provided by the experienced craftsman and wooden toy maker, Primož Rojc. Rojc took on a partial restoration project of a stilted wooden playhouse in his home village, focusing primarily on refreshing its interior. In his approach, he offers valuable advice on the correct restoration procedures for wooden structures, highlights key aspects to prioritize during restoration, and adds that final touch that opens the door to a child’s magical world of imagination.

Playground Equipment Condition Assessment
Before beginning the playground equipment restoration, it’s important to assess the condition of the wood. If the paint is noticeably peeling, more work will be required, especially if the wood has also been affected by pests. The amount of work also depends on whether the playground equipment is coated with topcoats, enamels, or woodstain. How to tell? Very simple. If the paint covers the wood’s surface so that its natural structure is no longer visible, then a topcoat, such as TESSAROL ACRYLIC ENAMEL was used. If the coating is semi-transparent and the wood’s structure is visible underneath, the wood is protected with a woodstain, such as BORI WOODSTAIN.
Which color to choose?
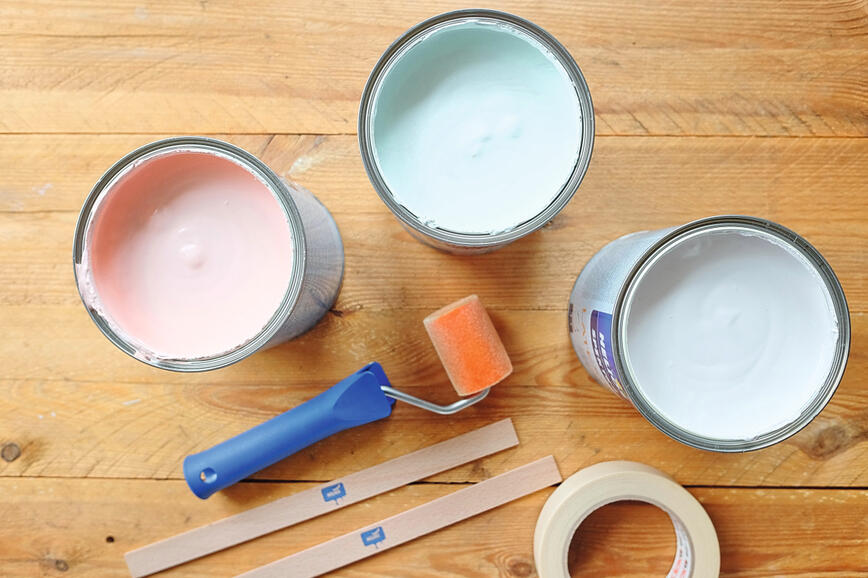
For wooden outdoor surfaces exposed to weathering – primarily humidity, sunlight, and temperature changes – I recommend using woodstain coatings for the protection of wood outdoors, as they are easier to maintain. Although water-based woodstains are equally suitable for outdoor surfaces, it’s important to know that they need to be refreshed and renewed annually. Over time, water will seep beneath the coating, causing the layer to begin peeling. Before applying a new coat, such surfaces need to be well sanded, which requires more work. With solvent-based woodstains, however, if you choose the same shade, simply lightly sanding the surface before renewal is sufficient before applying one or two coats of new paint. For more details on comparing water-based and solvent-based coatings, watch this video.
In our case, we decided to keep the exterior coated with woodstain, while changing the interior—which is better protected from weathering—to various shades of the environmentally friendly TESSAROL ACRYLIC ENAMEL topcoat, creating a more magical environment.
TESSAROL ACRYLIC ENAMEL is also distinguished by the SIST EN 71-3 certification, which ensures that the product, in all its ready-made shades, is suitable for painting children’s toys and other items that come into contact with little ones. Thanks to its water base, it dries quickly, has no unpleasant odor, and can be thinned with water. I have been using it regularly for decorating and protecting my wooden toys for years.


What is needed when restoring wooden playground equipment?
Before beginning the restoration process, make sure you have the following items on hand:
- cotton rags from old clothes
- protective cardboard
- sandpaper of different grits
- brush
- roller
- container for leftover paint
- agent for removing resin, grease, and other impurities (such as TESSAROL NITRO thinner)
- wood primer (such as TESSAROL ACRYLIC PRIMER FOR WOOD)
- topcoat or woodstain for the decoration and protection of wooden surfaces (such as TESSAROL ACRYLIC ENAMEL)
When restoring playground equipment or doing any other work at home, use tools you already have on hand. Repurpose old T-shirts by cutting them into smaller rags, and protect the floor with cardboard or old newspapers. Buy sandpaper, brushes, rollers (if you don’t have them), and your wood paints of choice.
The Logic Behind Sanding Paper – Less is More!
When choosing sandpaper, pay attention to the grit size. A lower number means a coarser grit. For sanding wood, a grit of up to 120 is suitable; for softer wood, up to 150. A grit of 100 works well for removing old paint, but lower grits can significantly damage the wood. When sanding, it’s not essential to remove all the old paint, but to smooth the surface and remove imperfections.
Once sanding is completed, we need to clean the surface. It is best to clean it using TESSAROL NITRO thinner, which is to be applied to a rag, as it also removes resin and various greases accumulated on the surface. As TESSAROL NITRO thinner evaporates quickly, it is not recommended for use in closed spaces.
Painting With a Brush or Roller
The next step is applying the wood primer, usually in two layers. Afterwards, the wood should be gently sanded again with sandpaper of grit between 180 and 200 to obtain a smooth surface that will allow for a nice application of the finishing coat.
Either a brush or a roller can be used for painting. When working with uneven surfaces, a brush is the only choice. Choose a brush of suitable width; I recommend avoiding brushes that are too wide or too narrow, with around 80 mm being ideal. If you are dealing mostly with flat surfaces, a roller can be used. For water-based coatings, use a Microline roller with a high-density nap to ensure an even application of paint without streaks or flaws. A roller is practical, as it allows for quick painting and provides a nice finish.


Temperature, Cleaning, and Storing Paint Leftovers
The optimal temperature for coating wood is between 10 and 25 °C. At lower temperatures, paint dries more slowly. Choose a dry, sunny day for painting, as coatings should not be applied to damp surfaces. Using water-based coatings is especially discouraged in cold weather. In general, the best times for coating are in spring or autumn when temperatures are moderately warm, and humidity is suitable.
How should brushes and rollers be cleaned? For water-based coatings, tools can be cleaned with water; otherwise, use a thinner.
To avoid unnecessary paint leftovers, consider using a Consumption Calculator to estimate the required amount of paint and recommend the best coating system.
Never pour leftover paint down the drain. Dispose of it in designated places, or store it in smaller containers, such as glass jars, to use for smaller projects before it expires. For more ideas, check out the Library of Ideas.
Captains of Your Own Adventures
How did I tackle the restoration of the wooden playhouse? Since its exterior was already well-protected with woodstain and did not require refreshing, we decided to enhance only the interior. It already had a steering wheel, so we painted it in Mediterranean colors ‒ blue and white. The wooden surface was first protected with a primer, followed by a topcoat. Staying environmentally friendly, we used an entirely water-based system. The ceiling was in good shape, so there wasn’t much work to do ‒ just sanding, followed by two coats of TESSAROL ACRYLIC PRIMER FOR WOOD and two coats of TESSAROL ACRYLIC ENAMEL in blue. For a finishing touch, we made a stencil from foil and stamped stars onto the blue background, transforming the ceiling into a starry sky.
By dressing the interior of the playhouse in vibrant colors, we aligned with a child’s perspective of the world, allowing them to dive into a world of imagination where every star represents a new adventure. We, as parents, often forget that children view the world differently—through their own lens and perspective. To them, the world is vast and filled with opportunities adults often overlook. And how they love small spaces! How often have they built little forts at home out of sheets and other items, to have fun and daydream inside? This project is aimed at reviving those memories and creating a space where children can let their imaginations run wild in the renovated playhouse—becoming captains of their own adventures.


Restoring wooden playground equipment is a wonderful way to extend its lifespan and maintain its beautiful appearance. With the right materials and a thoughtful approach, we can create a safe and inviting playground for children. Furthermore, painting can be a fun family activity. May it bring joy to all generations!

Step by Step to a Magical Wooden Birdhouse

Sustainable, Creative, and Magical Holiday Days
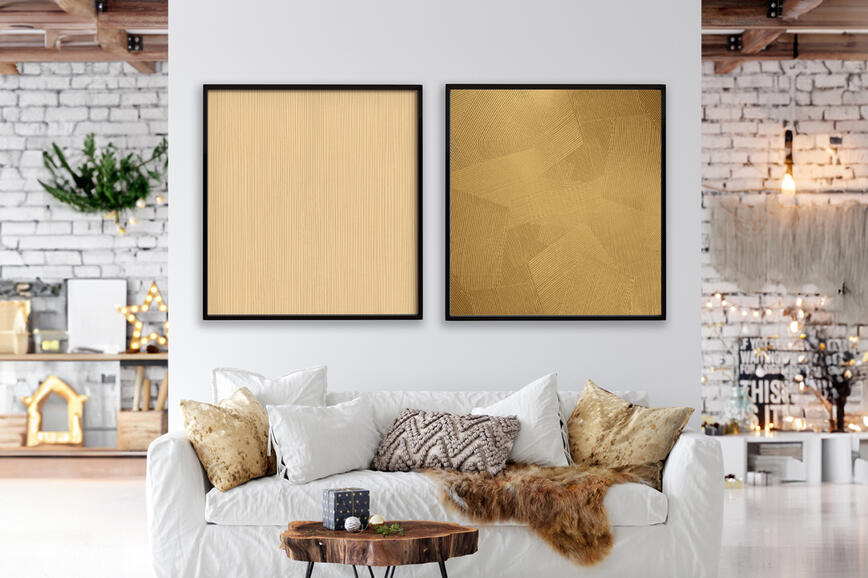
Add a WOW effect to your walls

Spring – the perfect time to refresh children’s outdoor playsets
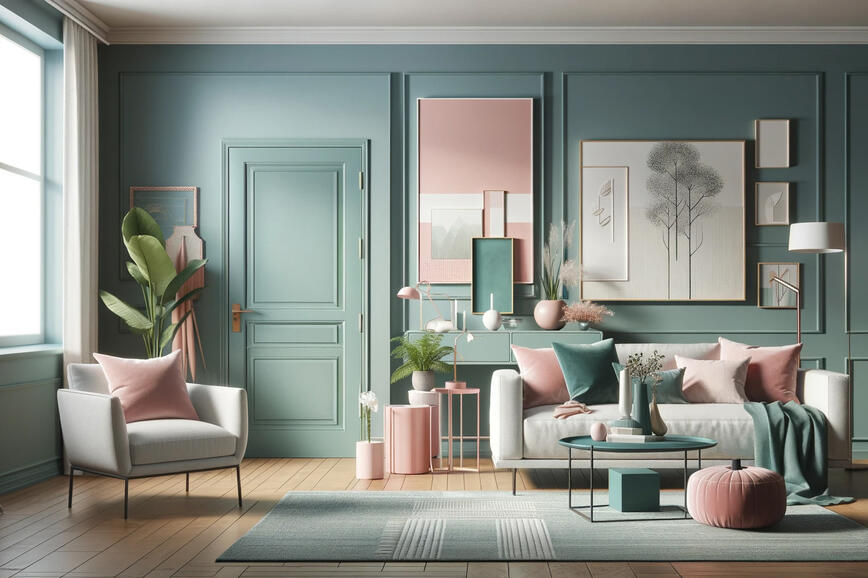
Creative ideas for every home: Home makeover with a new door colour
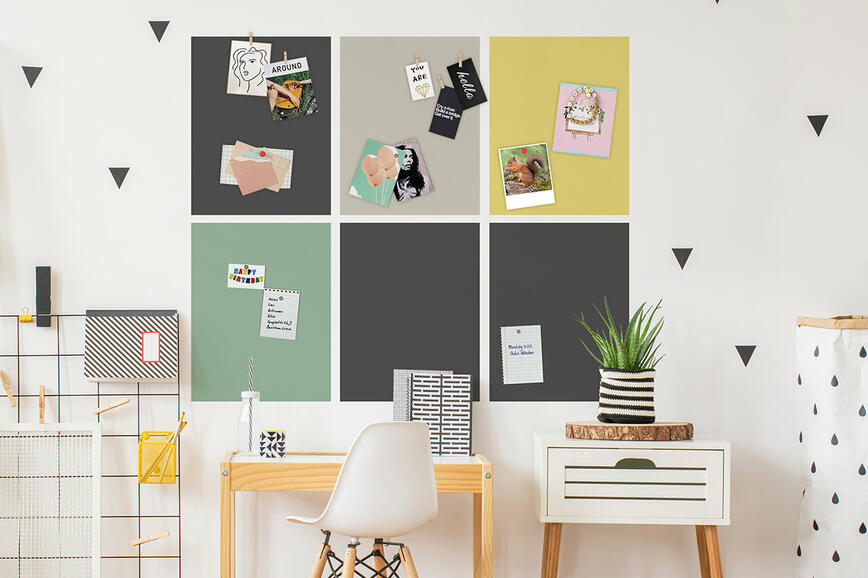
How to set about making a magnetic wall by yourself
Even leftover wall paint can be transformed into a work of art
Fatal combination
A lovely study corner in a small apartment

Rocking chair makeover
A new colour - A new and improved feel!