Step by Step to a Magical Wooden Birdhouse
Have you ever found yourself gazing out the window at a tiny bird perched on a branch and thought how little it would take to brighten its day? Birdhouses are one of the most beautiful ways to combine creativity, sustainability, and care for nature in a simple and imaginative project. And the best part? You can make them yourself using materials that would otherwise be thrown away.

Recycling is one of the simplest ways to reduce waste and help preserve the environment. In addition to wood, which is the classic choice for making birdhouses, you can also use many other materials that would otherwise end up as waste—such as plastic bottles, metal cans, beverage cartons (e.g. Tetra Pak containers), old kitchen utensils, or even cardboard boxes. These materials can also be durable and attractive, especially if you protect them with the right coatings.
By recycling, we not only reduce the amount of waste and protect nature, but we also save money, give materials a new life, and create a unique product that carries our personal touch. Such a project brings plenty of creative joy while providing birds—especially in winter—with a safe shelter and a source of food that is harder to find during the cold months.
Birdhouses truly shine when snowflakes blanket the surroundings. The moment your gaze falls on a snow-covered birdhouse filled with treats for tiny birds happily pecking at seeds is priceless. The scene can be even more idyllic if you brighten the birdhouse with vibrant colours that enliven the winter landscape and bring a touch of warmth, nature, and cheerfulness into your home.
How to Make a Wooden Birdhouse – Step by Step
1. Prepare Your Creative Corner
Before you begin, set up a comfortable and organized space where you can work without interruptions. Choose a flat surface with enough room for all your tools and make sure you have good lighting—especially if you’re working indoors.
Gather the basic tools and materials: wooden boards, a saw, a drill, a hammer, screws or nails, waterproof wood glue, sandpaper, a ruler, a pencil, a geometry compass, and a soft cloth.
2. Ideal Dimensions for a Comfortable Birdhouse
When determining the size of the birdhouse, it’s important to adapt the dimensions to the birds you want to attract. For smaller species such as sparrows, robins, and tits, we recommend the following measurements (also shown in the sketch below):
- Height: 25 cm
- Width: 15 cm
- Entrance hole diameter: 3.5 cm
Once you’ve decided on the size, start cutting the boards. To build the birdhouse, you’ll need:
- Two side boards
- A front board with an entrance hole
- A back board
- A base board (bottom)
- Two roof boards (one shorter, one longer)
- A perch stick (optional)
Tip: Drill a few small holes in the bottom for drainage so water can flow out and the inside stays dry. The roof should be slightly slanted—this prevents water from pooling and keeps the birdhouse protected for longer.

3. Preparing the Wood – The Key to a Perfect Finish
The wood you plan to use must be completely dry, as moisture affects the adhesion of coatings and the final appearance. Thoroughly clean and sand the cut wooden panels—both the edges and the entire surface. This removes impurities, prepares the wood for further treatment, and ensures optimal coating adhesion.
Sanding the edges is especially important because it prevents sharp parts that could injure birds. Use fine sandpaper to smooth the wood, then wipe the surface with a soft cloth to remove dust.
Before painting, protect the wood with one layer of BORI IMPREGNATION WITH BIOCIDE W, which effectively shields against fungi, mould, and insects. The impregnation creates a protective barrier against blue stain and wood decay, extending its lifespan.
Tip: Always use biocides safely—read the label and product information before use.
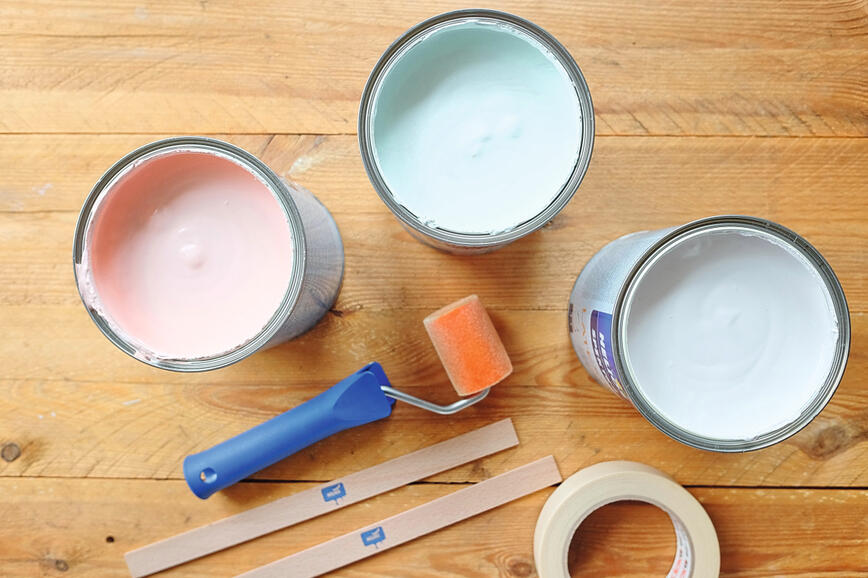
4. Add Charm to Your Birdhouse – With Playful Colours or Natural Warmth
When finishing the wood, you can choose between top coatings and woodstains, depending on the look you want to achieve:
- Top coatings completely cover the wood texture, allowing you to create a smooth, uniform appearance even from old or damaged wood. They dry quickly, are highly durable, and provide long-lasting protection against weather, UV rays, and mechanical wear. Available in a wide range of shades, they let you brighten up the birdhouse and add a personal touch.
- Woodstains are transparent coatings that penetrate the wood along with the binder, protecting it from environmental influences while preserving and highlighting its natural texture. Water-repellent substances prevent moisture from penetrating the wood, reducing cracks and swelling. Stains add colour without hiding the wood’s natural beauty. They come in many shades that gently emphasize its natural texture and maintain its authentic character.


How to Create a Vibrant Birdhouse with a Top Coating
First, coat the wood with a primer coating TESSAROL ACRYLIC PRIMER FOR WOOD, which prevents yellow stains and ensures strong adhesion for the final layer. Then protect the wood with the environmentally friendly top coat TESSAROL ACRYLIC ENAMEL, certified safe for painting children’s toys and completely safe for animals.
Both paints dry quickly and have no unpleasant odour, so you can safely make the birdhouse indoors in the warmth of your home during colder days. Invite the little ones to join in and combine creativity, learning, and care for nature in one wonderful project.
Tip: For new wood, apply two layers of primer and two layers of enamel, allowing each layer to dry completely before applying the next. You can finish by decorating the birdhouse with additional colourful elements or hand-painted designs.
Create a Beautiful Natural Look Using a Woodstain
For a perfect natural appearance, the correct sequence of applications is key. First, apply one layer of BORI THIN-LAYER WOODSTAIN, which acts as deep protection. This transparent coating with natural oil penetrates the wood, nourishes it, and highlights its texture. It contains no biocides, making it environmentally friendly and suitable for both indoor and outdoor surfaces.
After drying, apply two layers of BORI HIGH-LAYER WOODSTAIN decorative coating in your chosen shade. This creates a silky glossy finish and effectively protects the wood from weather influences. Thanks to its wax content, it increases water repellency, extending the wood’s lifespan and reducing the risk of cracking or peeling.
Tip: When refreshing old coatings, choose a lighter shade, as each additional layer of stain slightly darkens the wood.


5. The Final Step to a Perfect Shelter – Assemble Your Birdhouse
Once all the parts are ready, carefully glue and screw them together to make the structure sturdy and safe. Ensure the inside is smooth and free of protruding screws or nails, as these could injure the birds. For extra comfort, add a small perch stick under the entrance hole to make landing easier.
When the birdhouse is complete, find a safe spot for it—hang it on a tree or attach it to a post at least two meters above the ground, where it will be protected from predators. If you don’t have a garden, simply place it on your balcony to add a natural, decorative element to your home. Fill the birdhouse with seeds, nuts, or suet, and enjoy watching small songbirds happily visit their new shelter.
Every glance at the colourful birdhouse full of life will remind you that with a little creativity and care for nature, we can do something good—for ourselves, for the environment, and for our feathered friends.
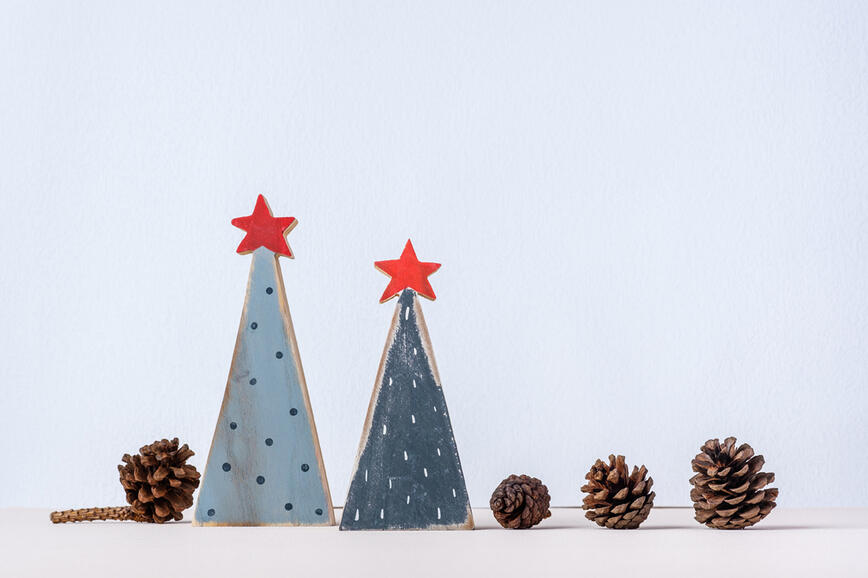
Sustainable, Creative, and Magical Holiday Days
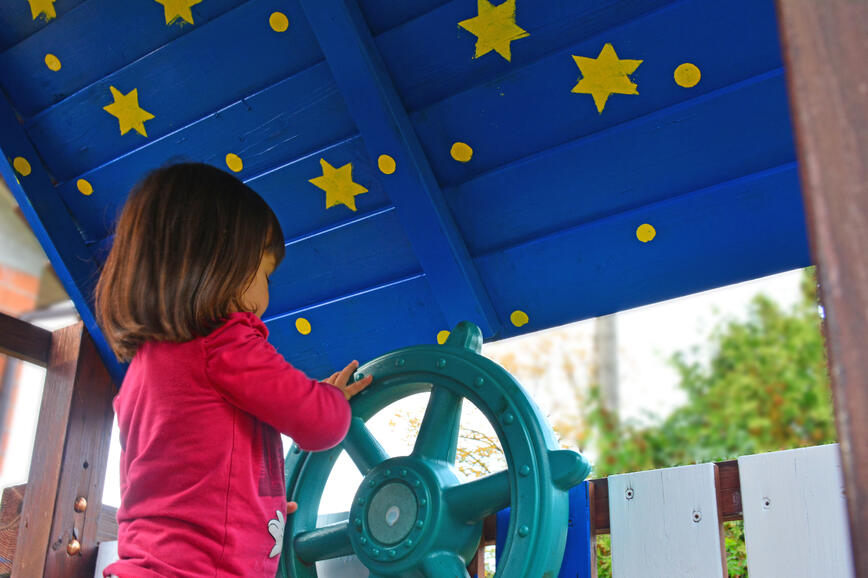
Become the Captain of Your Own Adventures with TESSAROL Coatings
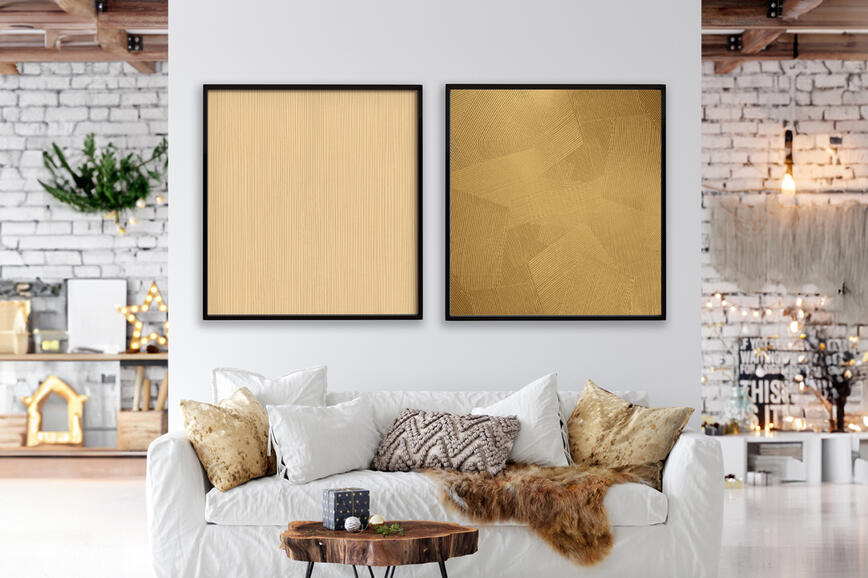
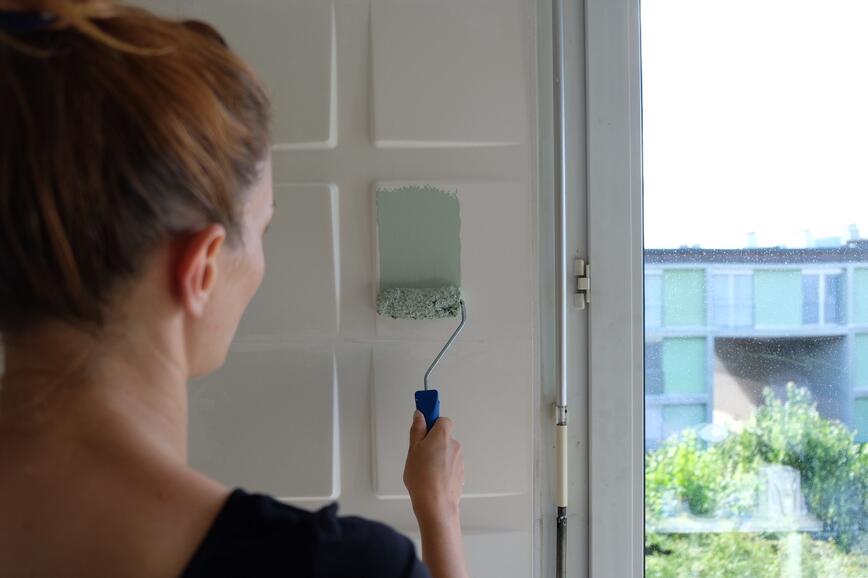
Add a WOW effect to your walls
Spring – the perfect time to refresh children’s outdoor playsets
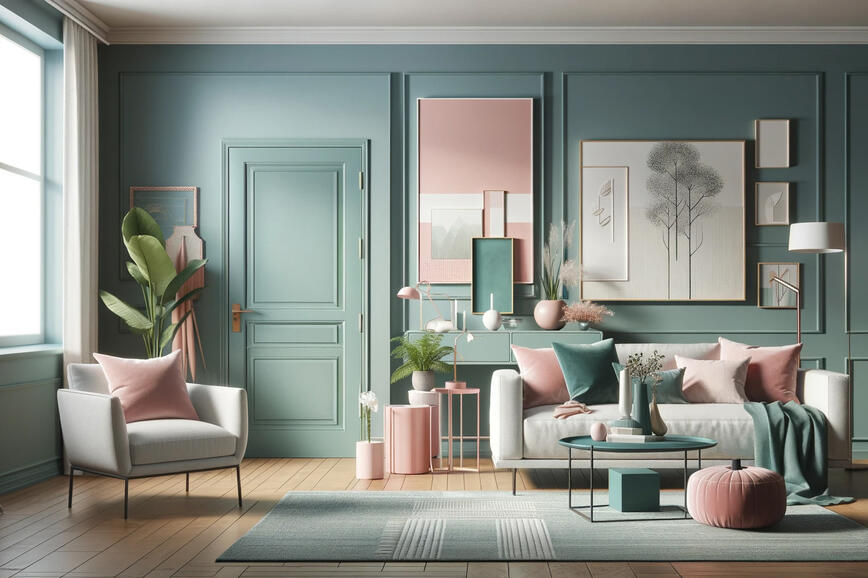
Creative ideas for every home: Home makeover with a new door colour
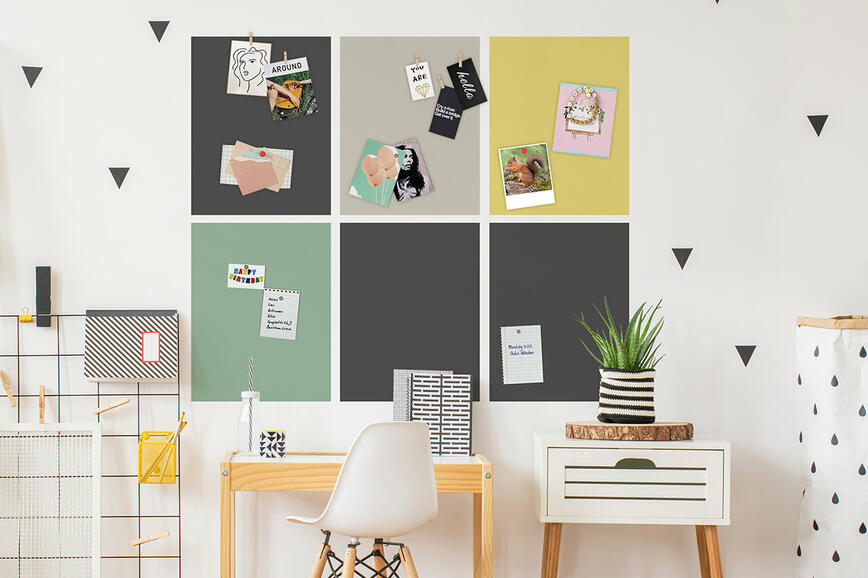
How to set about making a magnetic wall by yourself
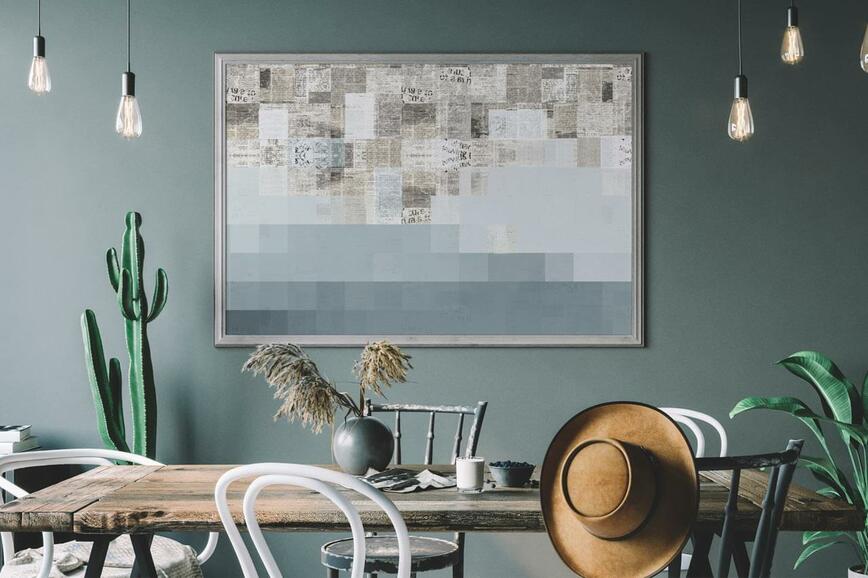
Even leftover wall paint can be transformed into a work of art
Fatal combination
A lovely study corner in a small apartment

Rocking chair makeover
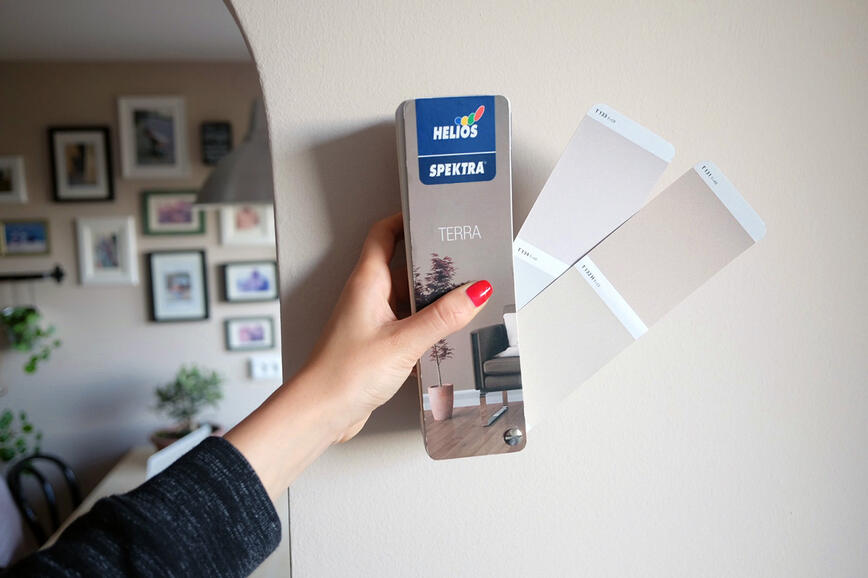
A new colour - A new and improved feel!