Chiar și resturile de vopsea pentru perete pot să fie transformate într-o operă de artă
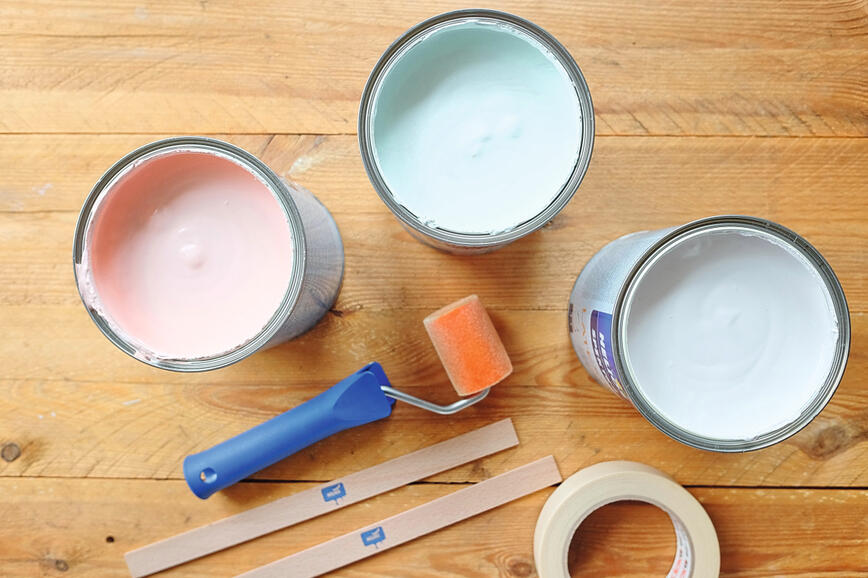
Cu toții am ajuns, la un moment dat, să avem mai multă vopsea decât aveam nevoie inițial. Cu cât este mai mare proiectul, cu atât este mai dificil să estimăm de câtă vopsea avem nevoie în realitate. De multe ori se întâmplă ca, după ce terminăm o lucrare, să rămânem cu o jumătate de cutie de vopsea- aceasta este, de fapt, o ocazie excelentă de a vă sufleca mânecile și de a deveni artiști.

Resturile de vopsea, lacurile și solvenții nu trebuie aruncate la gunoiul menajer general sau în canalizare, deoarece acest lucru poate duce la contaminarea periculoasă a solului și a apelor subterane. Așa că ele sunt adesea depozitate în cămară, în garaj sau în pivniță și uitate acolo. După fiecare proiect terminat, vă recomandăm să păstrați o cantitate mică de vopsea și să o turnați într-un borcan de sticlă, pentru a o folosi în viitor la mici reparații. Restul vopselei poate fi folosit pentru a servi drept inspirație pentru următorul dvs. proiect creativ.
Permiteți ca resturile de vopsea să inspire artistul din dvs
Resturile de vopsea pentru perete sunt mai puțin potrivite pentru a fi aplicate pe pânza unui artist. Pe măsură ce vopseaua de pe pânză se usucă, aceasta poate crăpa și se poate desprinde din cauza compoziției diferite a unei vopsele destinate unei astfel de utilizări. Cu toate acestea, vopseaua pentru perete poate fi aplicată într-un strat subțire pe o altă suprafață mai absorbantă, cum ar fi o hârtie de desen mai groasă. Sunt suficiente doar câteva resturi de vopsea pentru a crea modele geometrice minunate, cu o notă modernă, fără a avea abilități speciale de desen.

Rigla și banda adezivă de protecție sunt cei mai buni prieteni ai dvs. atunci când desenați modele geometrice. Acest lucru este valabil mai ales pentru desenarea liniilor perfecte, drepte și ascuțite. Liniile desenate cu creionul trebuie să fie șterse aproape în totalitate înainte ca vopseaua să fie aplicată. Acest lucru este valabil mai ales atunci când se folosesc nuanțe deschise, unde urmele de creion pot rămâne vizibile sub vopsea. Vă recomandăm să evitați utilizarea altor instrumente de scris, cum ar fi stiloul, deoarece vopseaua poate readuce petele de cerneală la suprafață în timpul fazei de uscare.

Bineînțeles, perseverența este un element esențial. Formele geometrice mai mici vor necesita mai multă precizie și răbdare. Atunci când creați modele cu ajutorul bandei de protecție, va trebui să împărțiți munca în mai multe faze, deoarece nu toate figurile pot fi pictate într-o singură sesiune. Începeți cu fiecare câmp în parte; după vopsire, îndepărtați cu grijă banda de protecție, așteptați ca vopseaua să se usuce bine și apoi continuați. Aplicați vopseaua în straturi subțiri cu ajutorul unei pensule mici sau a unei role pentru vopsit, pentru că ele oferă mai multă precizie. S-ar putea chiar să fie nevoie să împărțiți lucrarea în trei sau patru faze, în funcție de mărimea și forma figurilor. După fiecare aplicare, verificați dacă vopseaua este complet uscată.

Îndepărtați banda de protecție cu grijă. Dezlipiți încet banda de protecție de pe suprafață, ținând-o înclinată și înainte ca vopseaua să se usuce complet.
Deoarece pentru operele de ară mai elaborate este necesar un număr mai mare de nuanțe diferite, nuanțarea poate fi o tehnică foarte utilă. Văruiala creează adesea albul perfect pentru nuanțare. Poate să fie amestecat cu orice vopsea pentru perete pe bază de apă rămasă sau cu vopsea tempera acrilică obișnuită, care se poate găsi în rechizitele școlare. Dacă este necesar, paleta de culori existentă poate fi, de asemenea, completată cu mostre de culori.

Atunci când vă alegeți paleta de culori, luați în calcul culorile existente în camera în care va fi atârnat tabloul. Ar putea exista o modalitate creativă de a conecta toate culorile care apar deja în micile detalii ale mobilierului sau în elementele decorative dintr-o singură imagine și de a crea o operă de artă care să devină parte integrantă a camerei. Pe de altă parte, utilizați contraste puternice și culori complementare pentru a obține efecte mai izbitoare și mai îndrăznețe. Combinația clasică care se potrivește aproape oricărui spațiu este, bineînțeles, alb și negru. Asigurați-vă că pensula sau unealta utilizată pentru a aplica vopseaua este curățată bine înainte de fiecare aplicare; în orice caz, vă recomandăm să începeți cu negru și să terminați cu alb.

Creativitatea nu cunoaște limite. Vopseaua poate fi aplicată cu un burete sau cu o bucată de material textil încrețită și legată cu o bandă elastică pentru a forma texturi interesante. Liniile ascuțite și curate pot fi transformate în tranziții moi și fluide, sau puteți opta pentru o combinație a celor două. De asemenea, vă puteți juca cu fotografia, care folosește un program de calculator pentru procesarea fotografiilor pentru a reduce numărul de pixeli și puteți încerca să imitați acest model. Elementele mai mari din model vor crea un aspect mai abstract și mai senin. În schimb, un model mai mic va crea mai multe detalii și mai mult dinamism. Totodată, se pot obține efecte vizuale interesante prin combinarea câmpurilor monocrome și a decupajelor din ziare. În combinație cu straturile universale de acoperire TESSAROL puteți utiliza și decupaje de reviste, care sunt de obicei tipărite pe hârtie mai netedă.

Bineînțeles, nu vă limitați la vopselele pentru perete. O abordare similară poate fi utilizată și în cazul resturilor de coloranți pentru lemn. Iar cireașa de pe tort este posibilitatea de a forma singuri baza folosind bucăți de lemn aruncate, care sunt mai întâi șlefuite și curățate bine. Coloranții transparenți pentru lemn vor asigură ca textura lemnului să rămână vizibilă. De asemenea, se pot crea diferite tonuri de culoare ale coloranților dacă sunt aplicați în mai multe straturi; o altă opțiune este de a vopsi câmpurile cu coloranți transparenți combinându-le cu câmpuri pictate cu un strat pe acoperire. Aceasta este o soluție excelentă chiar și pentru o bucată de lemn care se află într-o condiție mai slabă și care are noduri sau urme deranjante. Nu uitați faptul că, potrivit filozofiei Wabi sabi, magia stă în micile imperfecțiuni.

Cum să depozitați corect resturile de vopsea
Pentru a vă asigura că vopseaua rămasă în urma văruielii poate să fie folosită ulterior pentru a crea noi opere de artă, asigurați-vă că este depozitată corespunzător. În caz contrar, vopseaua poate să expire, se poate usca, poate să formeze cocoloașe sau poate să emane mirosuri neplăcute. Înainte de a începe munca, nu uitați să vă asigurați că vopseaua este încă utilizabilă după ce a stat în depozit o perioadă mai lungă de timp. Cum? Căutați trucuri și sfaturi utile pentru depozitarea vopselelor.


Pas cu pas către o căsuță magică de lemn pentru păsări
Deveniți căpitanul propriilor aventuri cu produsele de acoperire TESSAROL
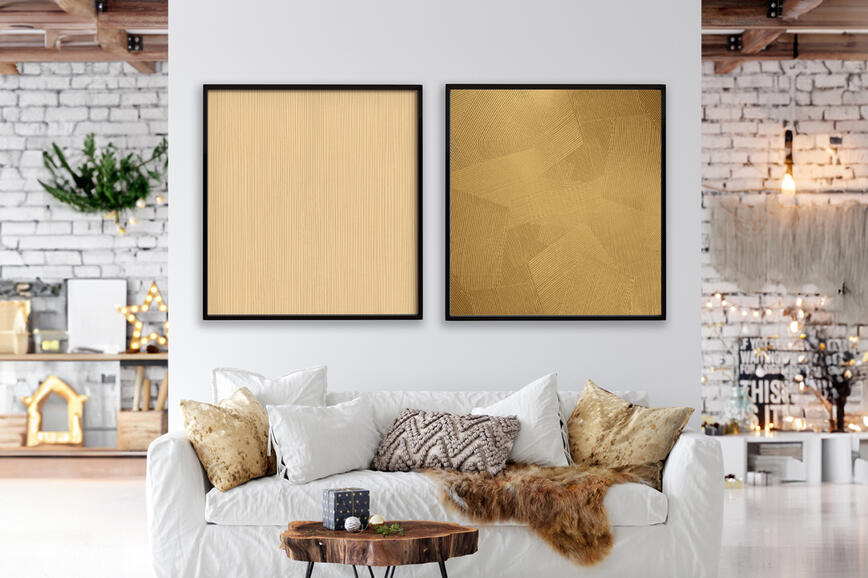
Adăugați un efect WOW pereților dumneavoastră

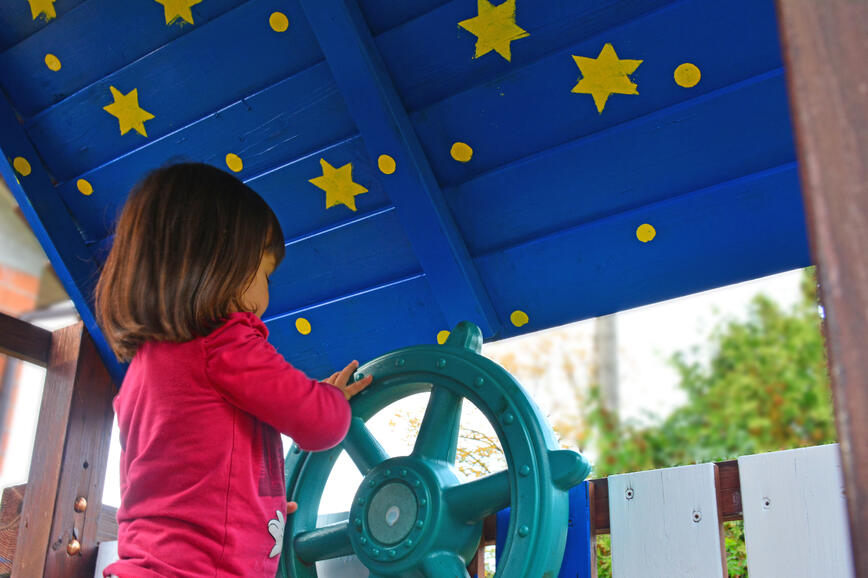
Primăvara – anotimpul perfect pentru a împrospăta seturile de joacă de exterior ale copiilor
Idei creative pentru fiecare locuință: Reamenajarea casei cu o nouă culoare a ușii
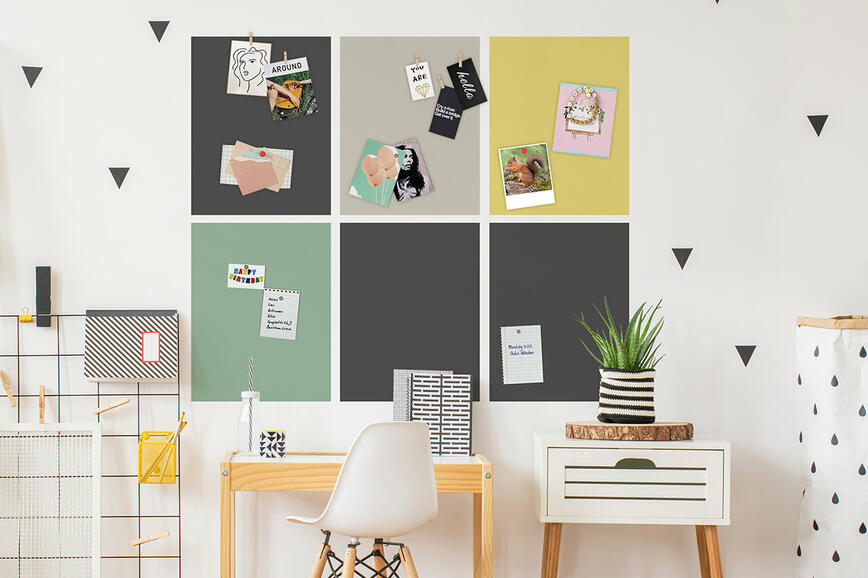
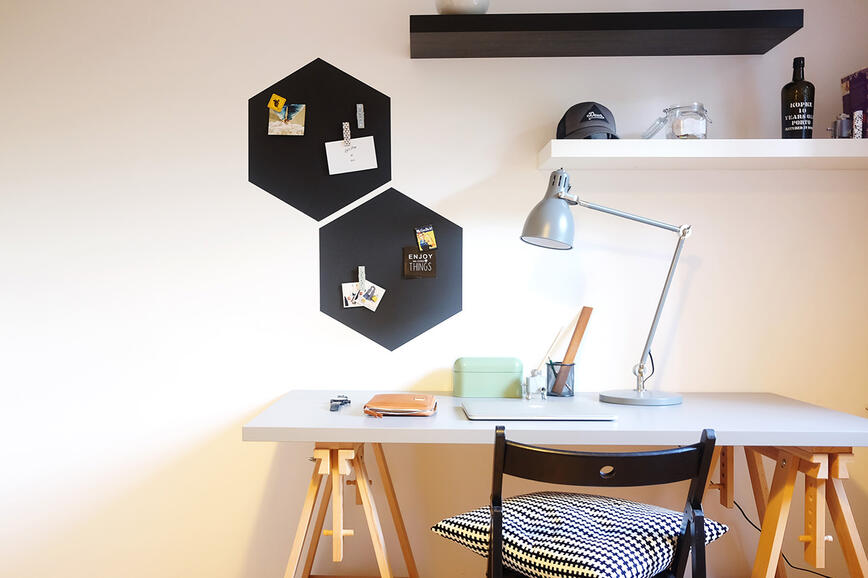
Cum să realizezi un perete magnetic pe cont propriu?
Combinația fatală
Un colț pentru studiu încântător într-un apartament mic

Reconditionare scaun balansoar
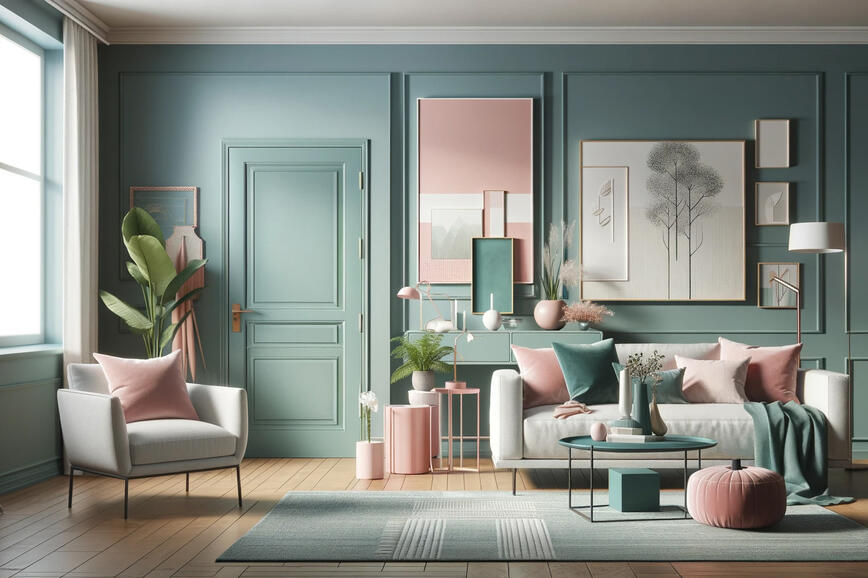
O nouă culoare – o senzație nouă și imbunătățită!
O cameră de copii cenușie? Da sau nu?